I had a baby girl on January 16th and some awesome guest posters are filling in for me while I get some baby snuggle time!
Kathy is from Krafty Kath and her blog is relatively new AND amazing! I love her gold antler box, her Justin Timberlake inspired bracelet (how can you not love anything that is an ode to JT?) and so much more! Thank you so much Kathy!!
Hi everyone! I’m Kathy from Krafty Kath, and when I heard that Laurel was looking for some guest posters for her blog I jumped at the chance. She has such a great blog for crafts and DIYs so it was right up my alley.
While I was conjuring up some ideas for this post, we both realized that we both love pom poms! I’m kind of obsessed. I think if all my crafts could include a pom pom I would be happy. This craft doesn’t use traditional yarn pom poms, but wool felted balls. Close enough right? I thought so. It’s an easy DIY that is the perfect spruce-up to any gift packaging.
How to make Polka Dot Gift Bags
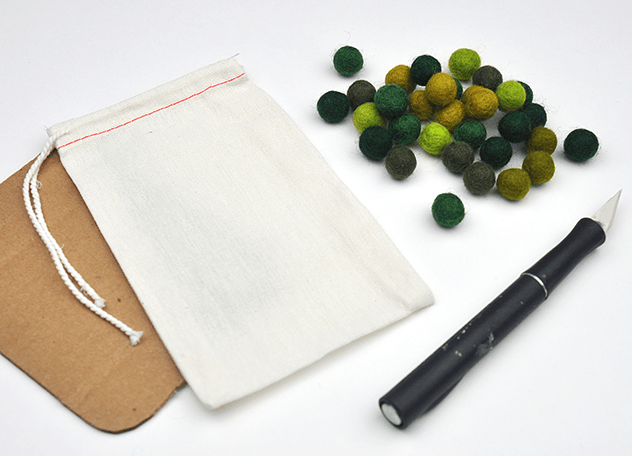
Materials:
– ½” felted wool balls (I got mine from HandBehg)
– 4½” x 6″ Muslin gift bags (I got mine from PaperSource)
– Hot glue gun and sticks
– X-acto knife
– Scrap piece of cardstock or cardboard
Directions:
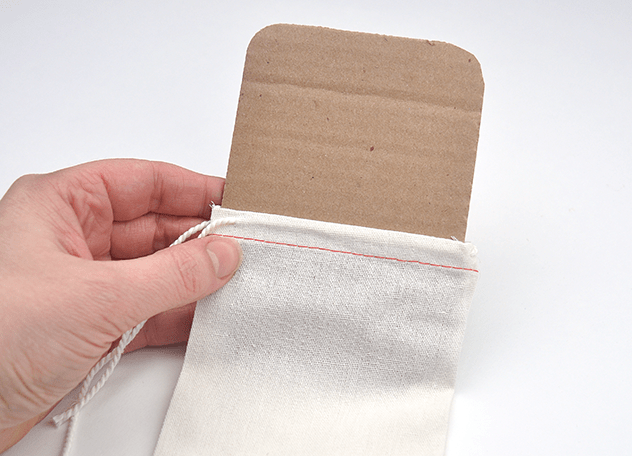
Cut a piece of scrap cardstock (or cardboard) that fits inside your muslin bag. This is to help avoid the glue from sticking to the backside of your bag.
Once you have your cardstock trimmed, insert it into your bag. Now you are ready to place the wool balls.
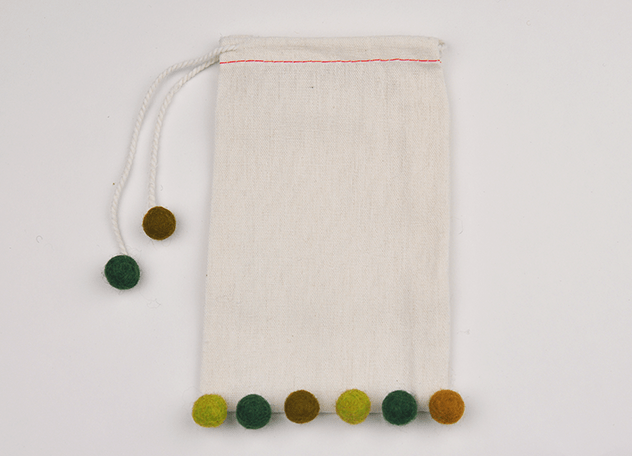
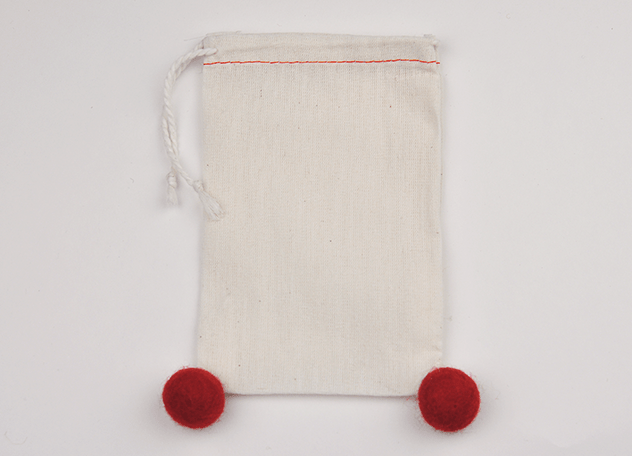
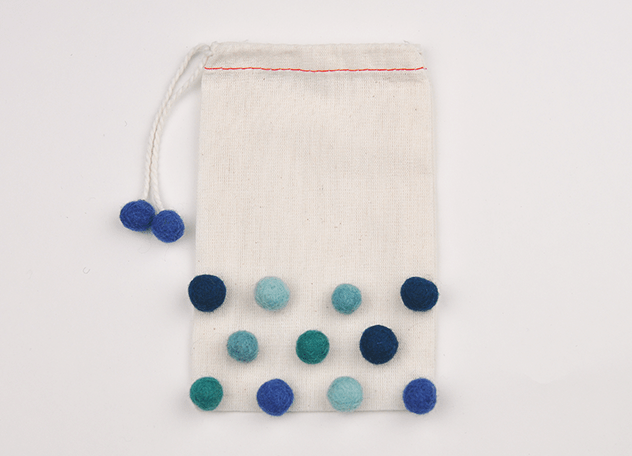
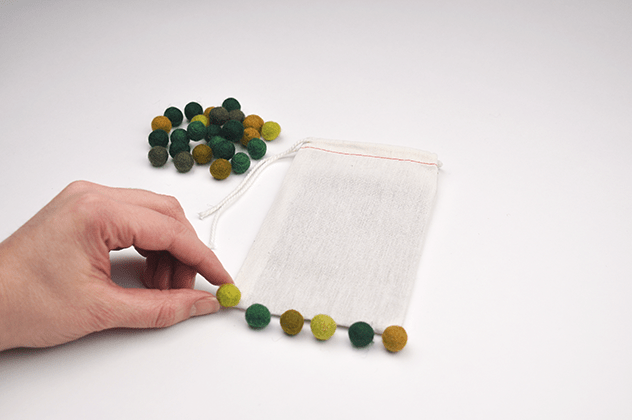
Arrange your wool balls where you want on your bag. You can do any number of arrangements. Some ideas are: A random pattern, bottom alignment, one in each corner, an initial, or a grid pattern.
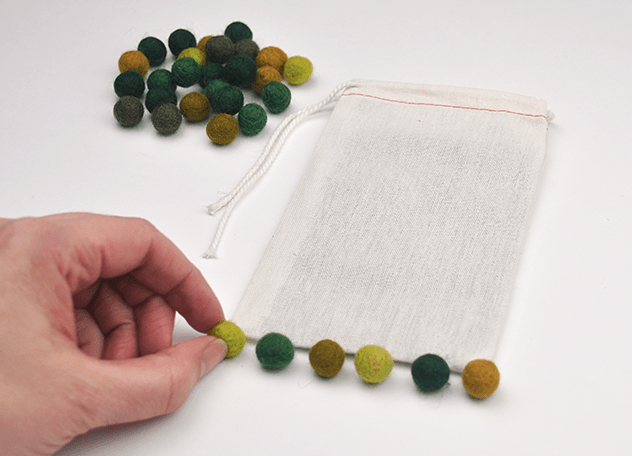
Once you have your placement that you like, you can now begin to glue them to your bag. Place a small dot of hot glue on the backside and place it on your bag where you want it to go.
Once your glue has cooled down and dried you can now add optional wool balls to your strings.
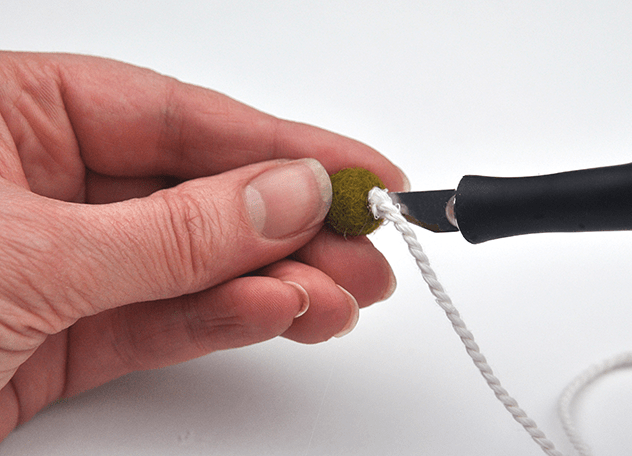
Take your x-acto knife and make a small slit in one end of the wool ball, about halfway through. Squeeze the wool ball so the opening expands a little and place a small dot of hot glue inside.
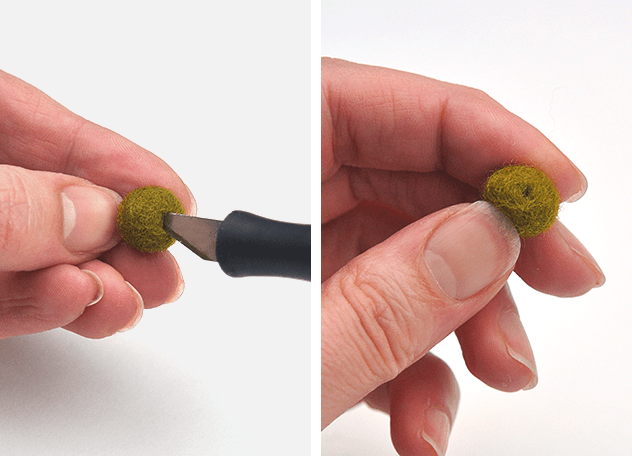
Act quickly before your glue cools down, but grab one end of the bag strings and using your x-acto knife place it in the hole of the wool ball. Use the end of your x-acto knife to shove it inside.
Once the glue is dry you are ready to fill it up with goodies!