


(P.S. There is another chance this month to win a copy of Adobe Photoshop Elements 14 at the end of post)
Pretty much all my photography requires editing to improve the quality of the photo. Thankfully, editing is relatively simple- I use Adobe Photoshop Elements for all my photo editing and have for over 3 years now. Photoshop Elements includes a large range of tools to improve your photos- but I have 5 tools that I use on nearly all my photos that I am sharing so that anyone can improve their photography with some easy steps using Adobe Photoshop Elements!
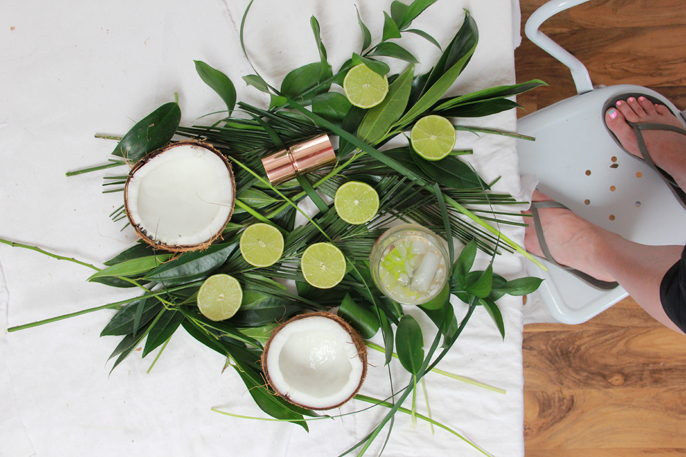
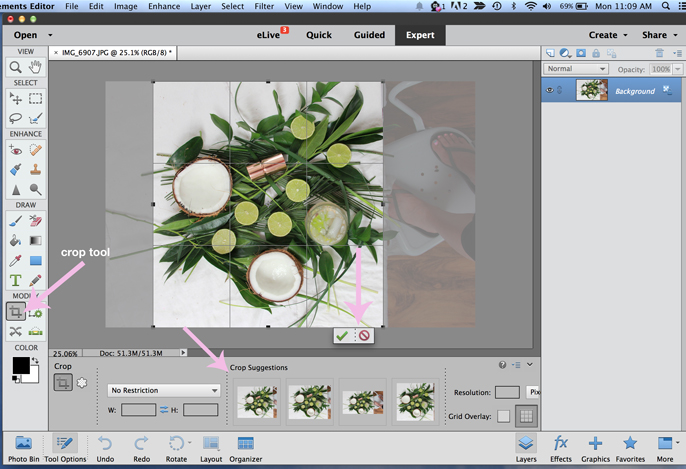
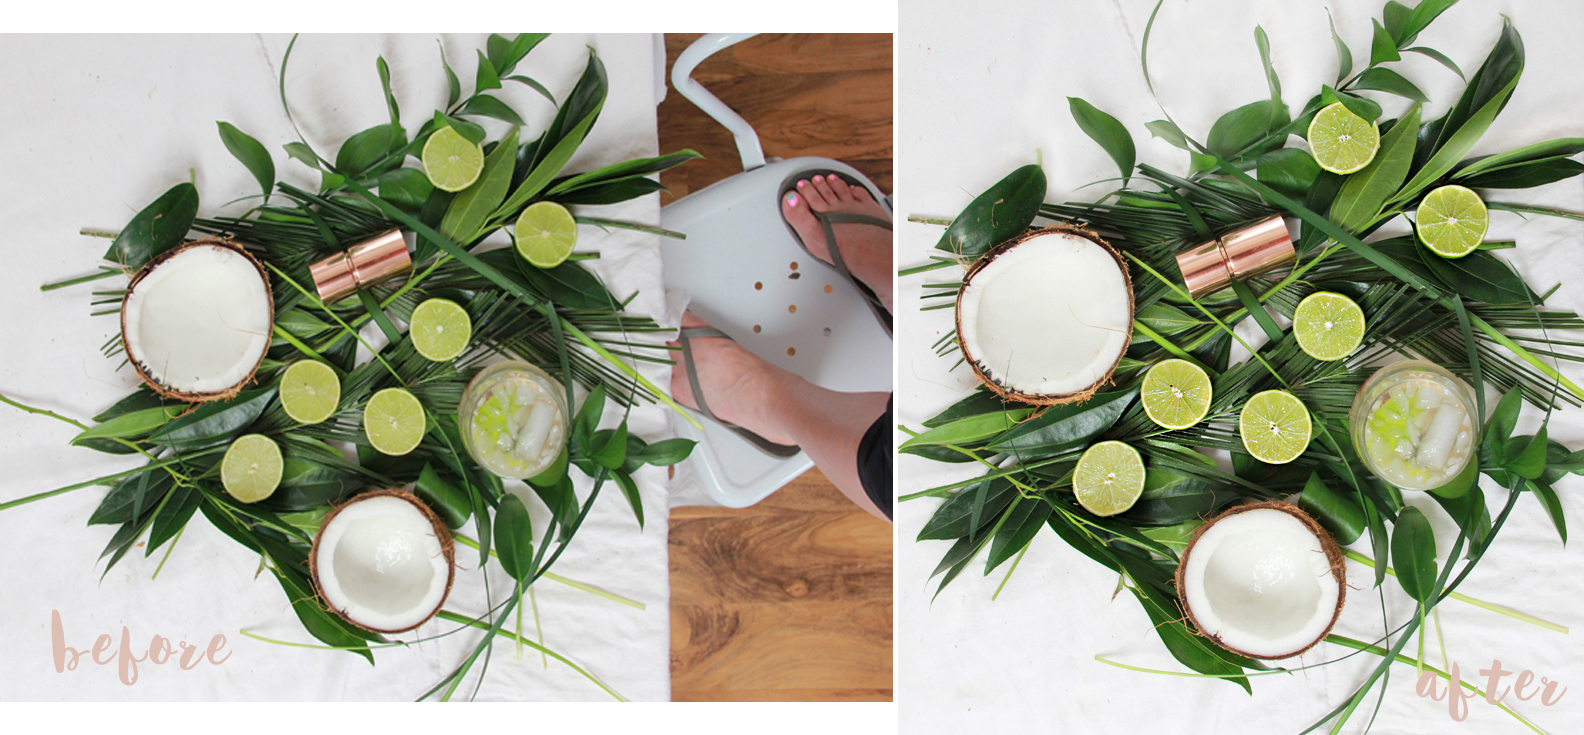
I crop for a variety of reasons- sometimes I didn’t get quite the angle I wanted and crop to make that possible. I crop out kid hands that sneak into a shot and I also crop out me! I sometimes do overhead shots without a tripod and stand on a chair. And this is what I need to crop out in the photo above- feet and food are not an appealing combo…
Adobe Photoshop Elements offers crop suggestions when you click on crop. These are very helpful. In this case, I did not use the suggested crop and cropped myself. Click crop button tool and select the green checkmark when done or press Enter.
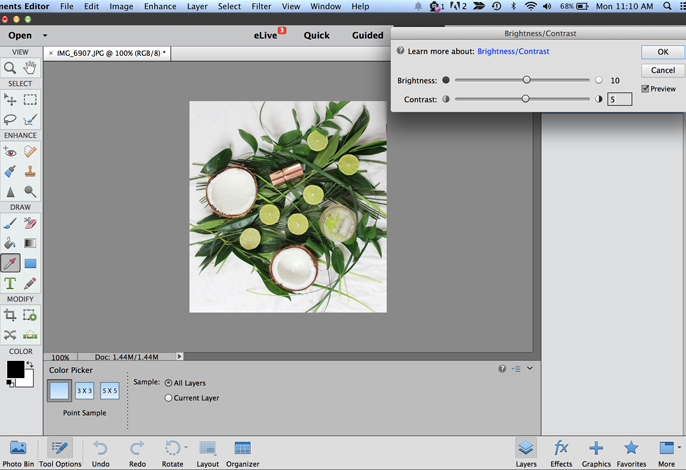
2) Now that I have the image cropped to size, I go into Brightness & Contrast. From the top bar menu choose- Enhance- Adjust Lighting- Brightness & Contrast. I did not need a ton of new light here, so I just added a bit more brightness. I tend to keep my shots very light on A Bubbly Life and it is rare that I do not brighten up the photo with some help from Photoshop Elements.
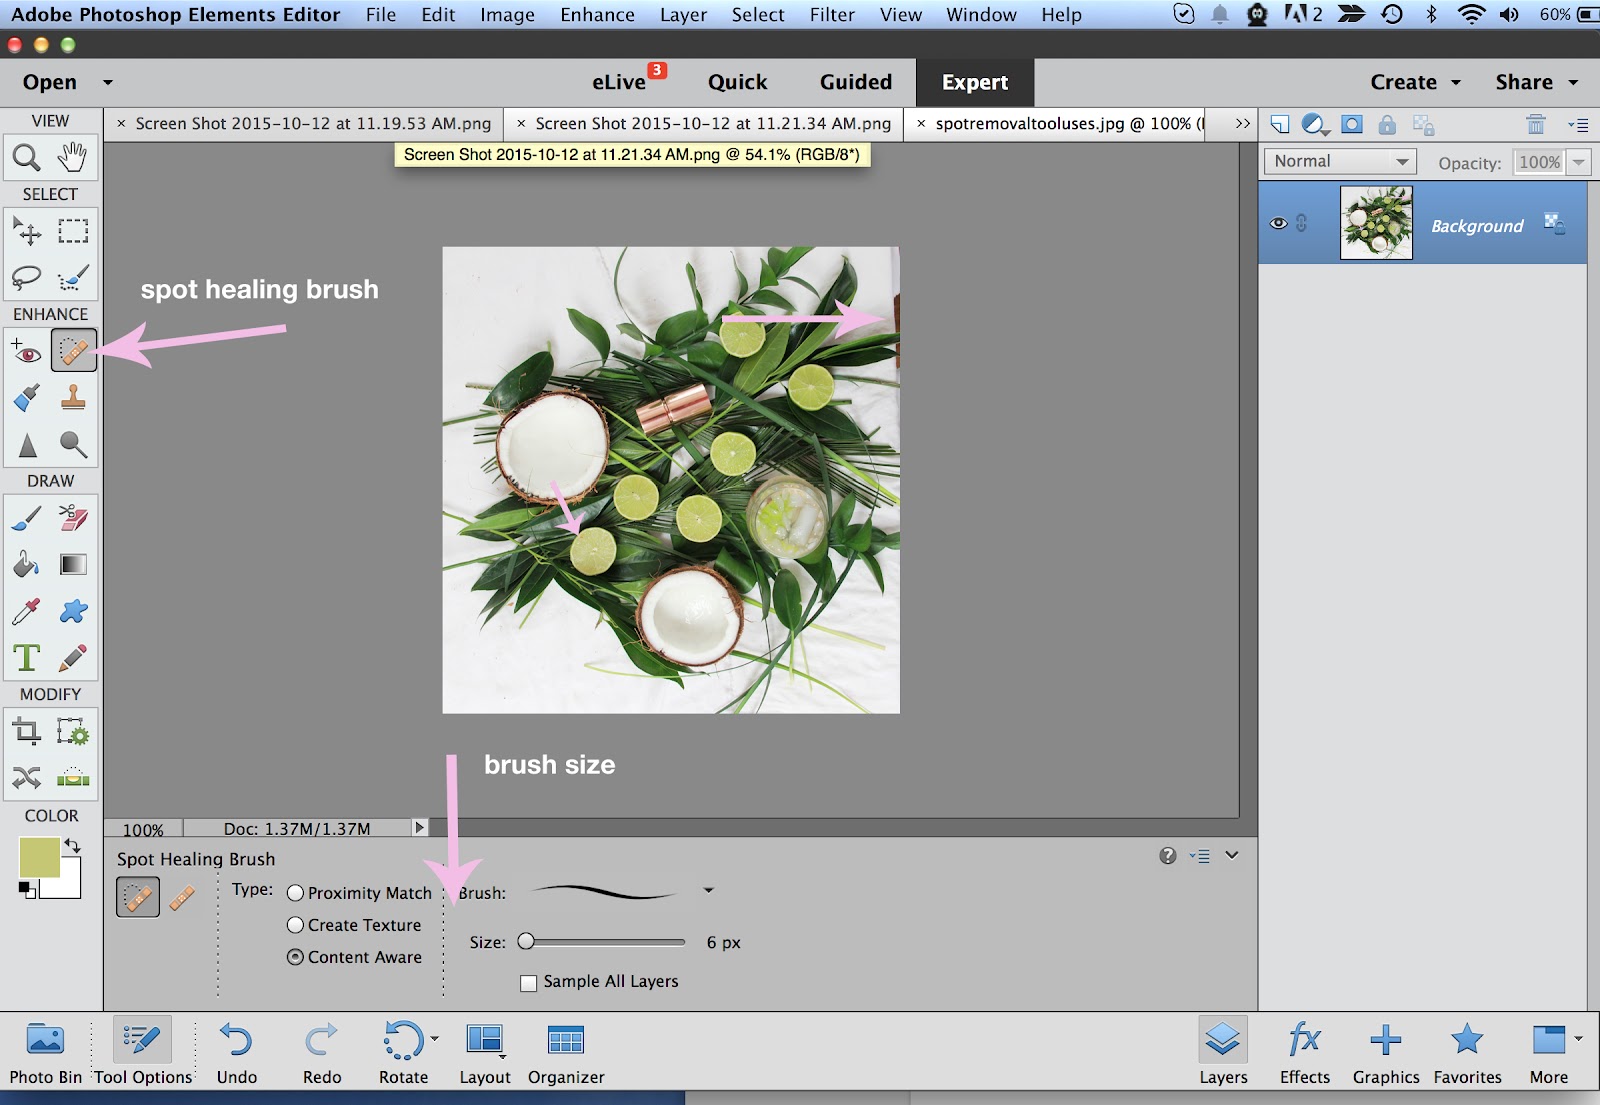
3) Spot Healing Brush. Do you see how in my crop there was just a little space left over where you can see the table ending? I do not want that showing. A quick brush over with the spot removal tool and it now matches the white tablecloth. I also noticed a tiny red dot (from the cherry in the cocktail) on the lime. Ok, this is a really tiny red dot and you may not have noticed it, but I did and it drove me crazy. Spot removal tool and it is gone!
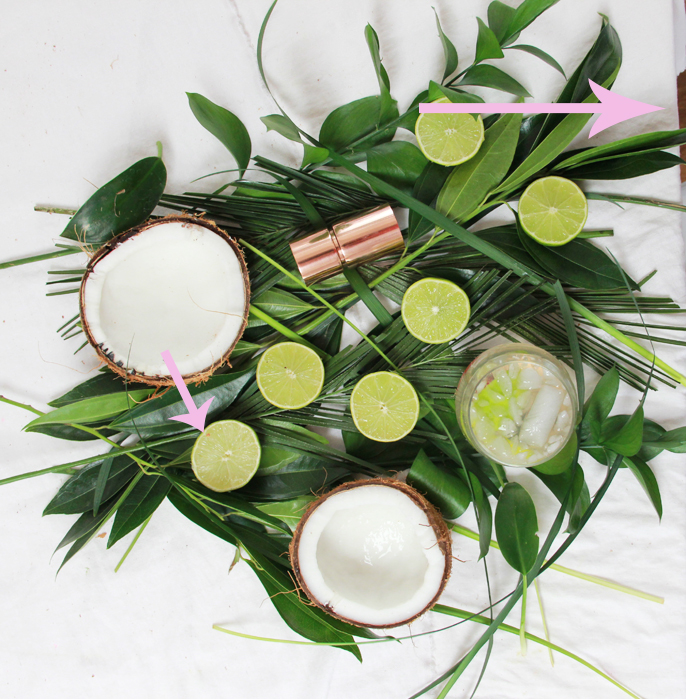
To use, select the bandaid icon and choose your brush size, I usually keep it somewhat small to give more control (the red dot was very tiny & I used a very tiny brush pixel size of 6 for it, you usually need bigger).
Before sharpening:
After sharpening:

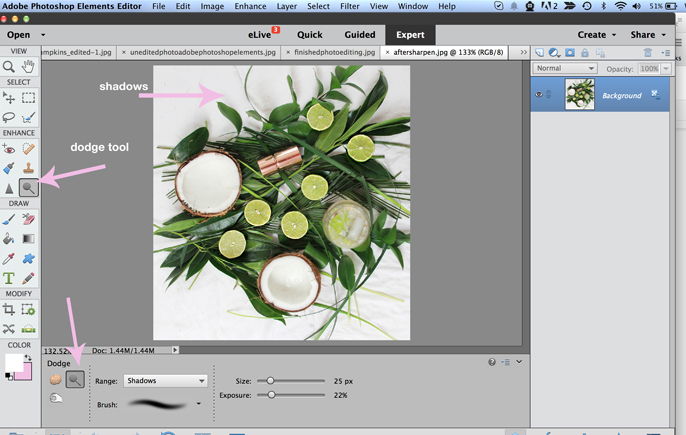
5) Dodge Tool. I thought I was done with the photo, but looking at it again, I did not like all the shadows. I think it gives it a cool effect but there were too many on top for my liking. Brightness would brighten the entire photo and not just a selected area- so this is where the Dodge tool comes in. Run the dodge tool over the areas you wish to lighten.
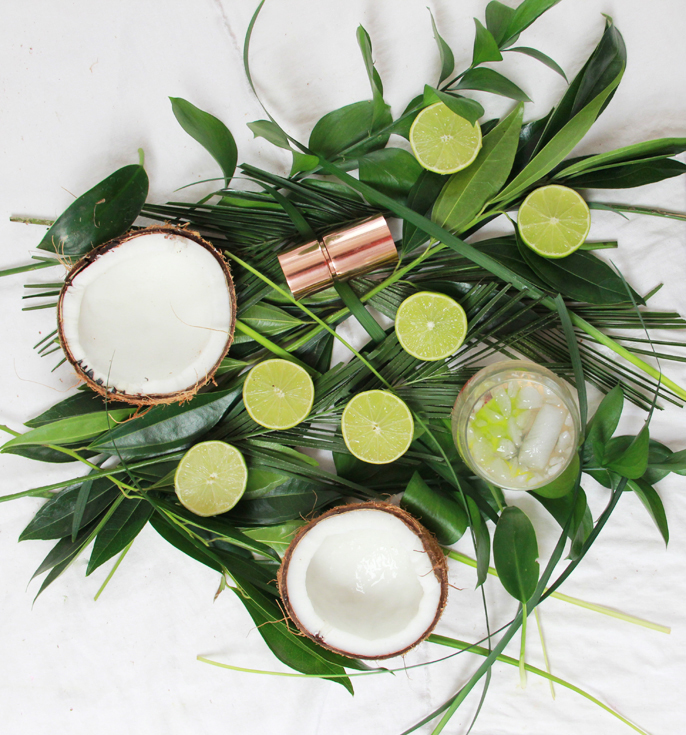
Final Shot:
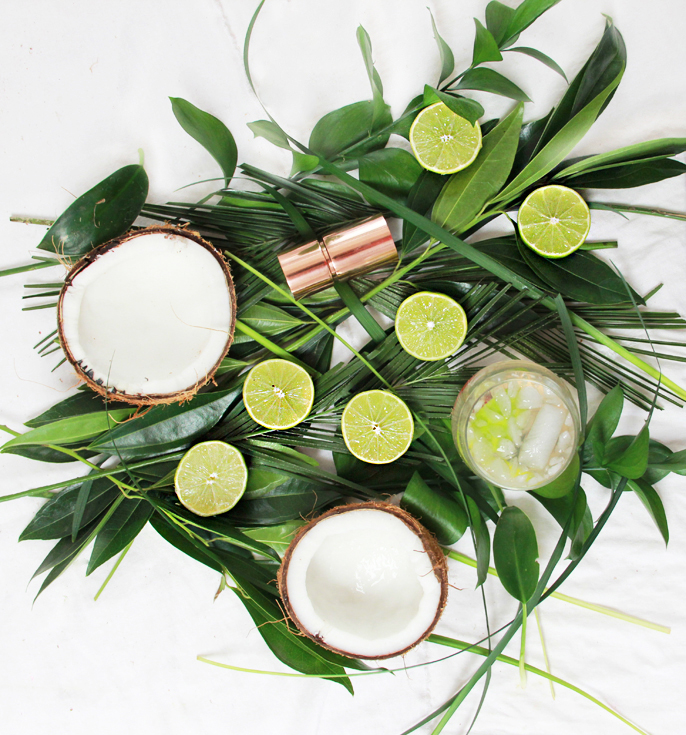
And a reminder:
What a difference editing makes!
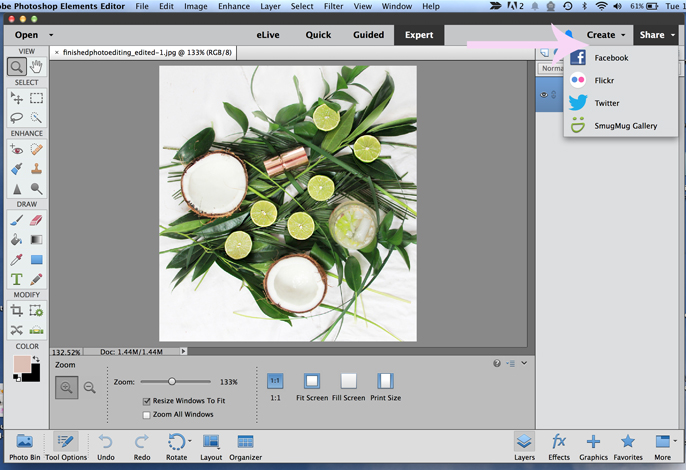
Now that the photo is all done, I can easily share it with Photoshop Elements 14, I just click Share & choose where I want it to go! When it comes to my kid’s photos, I am all over that Facebook share button, makes it SO much easier to show off my kids!
Do you need a cocktail after all that info? Try the coconut cherry lime vodka cocktail pictured! (with many more photos for your enjoyment 😉
Any questions? Please let me know in comments or feel free to email me!
I am a Photoshop Elements 14 Brand Ambassador, all thoughts and opinions are my own. Thank you for supporting brands that keep A Bubbly Life going!

