


*This post is part of a social shopper marketing insight campaign with Pollinate Media Group™ and
Sharpie, but all my opinions are my own. #pmedia #StaplesSharpie http://cmp.ly/3/8vNxcO

I just can’t quit the plastic animal DIYs- I cannot resist how cute they are and easy to makeover. These plastic animal ornaments are made even easier by using a Sharpie, another DIY favorite of mine!
 |
| I do have a pink Christmas tree, but it is tiny & only in my office… |
How To Make Sharpie Designed Plastic Animal Ornaments
Materials:
Sharpie Markers
Drill
Eye hooks
Spray paint
Ornament hooks
The plastic animals before (with some Sharpie doodles :):

I chose medium sized animals and two large ones. The small plastic animals work just fine but I wanted bigger ornaments for the tree.
Directions:
Drill a small hole in top of plastic animal and screw in an eyehook.
Spray paint all animals white (a paint & primer spray paint mix works best)

Design your animals using a Sharpie marker!

I chose to stick with the Gold Metallic Sharpie for my doodles (seeing as gold metallic is my current obsession). I did “realistic” lines on the giraffe and tiger.

For the rest of the animals, I went with polka dots and stars!
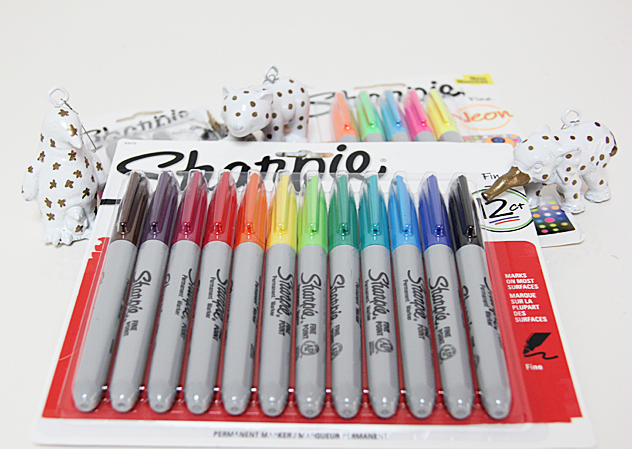
I purchased the Assorted ($6), Metallics (comes with 2 Silver, Bronze & Gold) for only $3.39 and Neon-at only $5- which I am so excited to get my hands on for some spring DIYs!!
 |
| My other favorite 🙂 |
I think this elephant prefers a forest of garland than the harsh jungle!
 |
| The tiger looks a bit angry for Christmastime… |

I will be giving these out at an ornament exchange party- don’t you just love Christmastime?
Find Sharpie on Twitter Facebook Instagram and Pinterest for more inspiration!
*All opinions are entirely my own and I only accept compensation and/or sponsorship from brands I trust and brands I think my readers would love! Thank you for supporting sponsors that make ABL possible!

